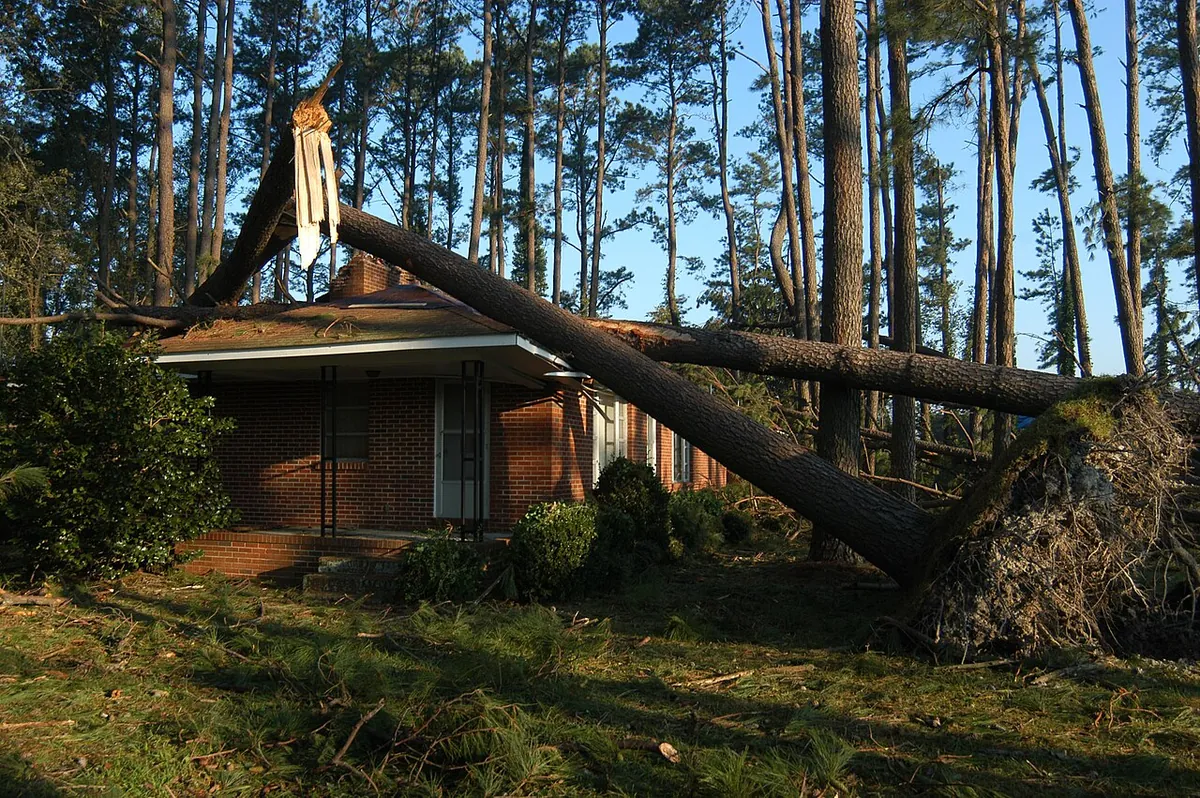
Good storm damage documentation starts in the first hours after a storm. Evidence that seems obvious today, like a fresh tree break, a debris field or shingles in the yard, disappears quickly once cleanup starts. Here’s what to capture, in order.
1. Safety first, then wide shots
Stay clear of downed lines and unstable trees. Then photograph the whole property from each corner, plus each side of the house. Wide shots establish context and show the scale of the damage.
2. The storm’s fingerprints
- Shingles, siding and limbs in the yard, photographed where they landed.
- Dented gutters, downspouts, vents, mailboxes and AC fins after hail.
- Fresh breaks and torn bark on fallen trees, which separate storm damage from rot.
- Root balls and soil conditions where a tree uprooted.
3. Close-ups with scale
Use a coin, ruler or tape in the frame. For hail, chalk-circle the hits on a test area of each roof slope if you can safely reach it, or let your contractor do it. For trees, photograph the impact point from inside and outside.
4. Interior damage
Photograph ceilings, walls and floors under any roof opening, plus the attic. Water stains spread and change color over days, so date-stamped photos matter.
5. Records, not just photos
- The storm date and time, plus local weather reports or alerts.
- Receipts for tarps, tree crews, water extraction and hotel stays.
- Names and companies of everyone who inspected the property.
- A log of every call and email with the insurer.
6. Don’t throw away the evidence too fast
Mitigate the damage, but keep samples of damaged materials, such as a few shingles or a cut section of trunk, until the insurer has inspected. Photograph everything before it’s hauled away.
Tree claims have their own limits. Our fallen tree claim splitter shows how they work.